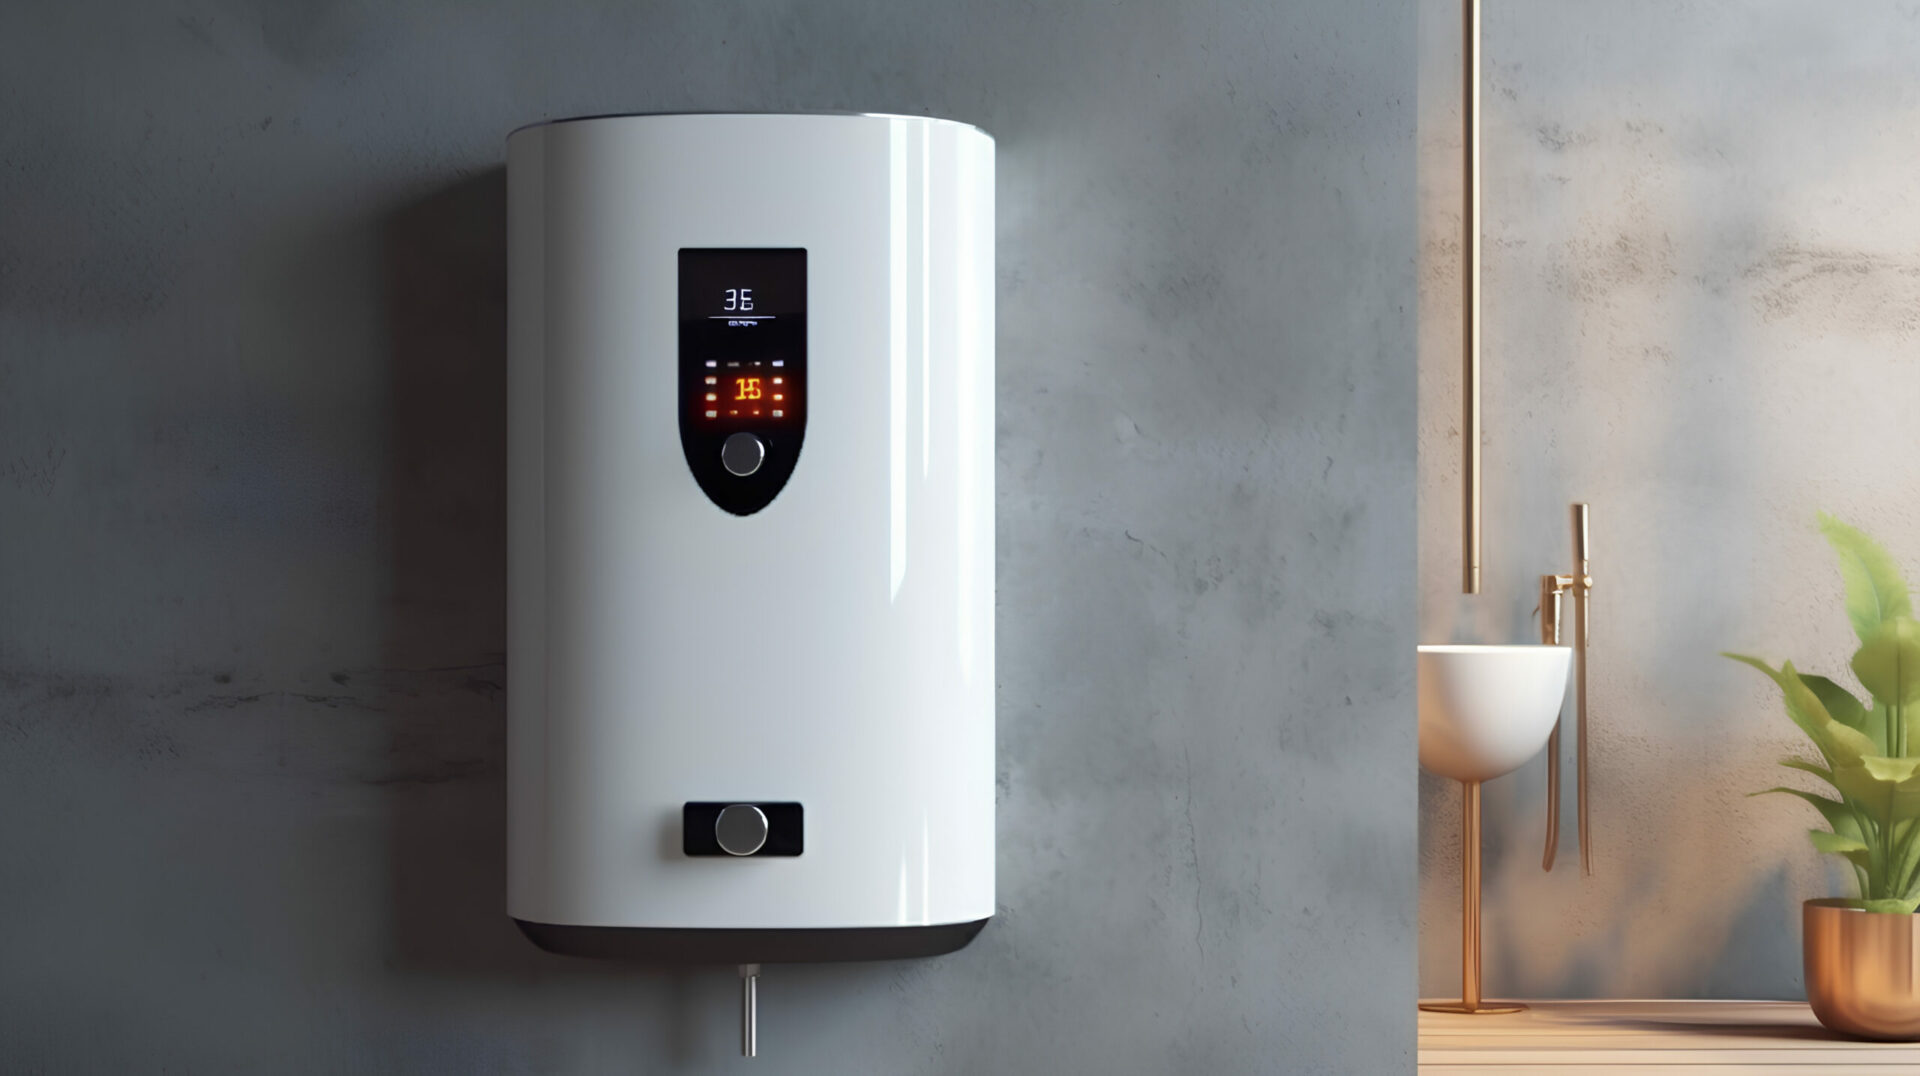
At Authentic Plumbing Solutions, we understand the importance of a hot shower. There’s nothing quite like it to unwind after a long day. But when your electric water heater decides to go cold on you, it can leave you in a bit of a fix.
Now, you might be wondering – can you tackle how to install an electric water heater yourself, or is it best to call in a professional? The answer depends on your comfort level with DIY projects and plumbing in general.
If you’re a hands-on kind of person and want to save some money, then installing your own electric water heater is a possibility. But before we dive into the steps, let’s be clear: safety is top priority!
Materials and Tools You Might Need
Before you embark on your how to install an electric water heater journey, gather the necessary supplies:
- New Electric Water Heater: Make sure the size and wattage are compatible with your needs and existing plumbing.
- Teflon Tape: This creates a watertight seal on pipe threads.
- Flexible Hose Connectors (optional): These simplify water line connections for a beginner-friendly installation.
- Pipe Fittings (optional): Depending on your setup, you might need compression fittings or soldering equipment for copper pipes.
- Adjustable Wrenches: These are essential for loosening and tightening various connections.
- Pipe Wrench (optional): For stubborn connections, a pipe wrench might be necessary.
- Screwdrivers: A flathead and Phillips head screwdriver will come in handy for various tasks.
- Bucket: You’ll need this to collect drained water from the old tank.
- Garden Hose (optional): If you don’t use flexible hoses, a garden hose can be used to temporarily connect the water lines to the new heater during testing.
- Work Gloves: Protect your hands while working.
- Safety Glasses: Wear safety glasses to protect your eyes from debris or water splashes.
Safety First
- Turn off the breaker! Locate your home’s electrical panel and shut off the breaker that controls your water heater. Double-check by turning on a nearby light switch – it shouldn’t illuminate.
- Shut off the water supply. Find the shut-off valve for your water heater and turn it clockwise until it stops. A wrench might be needed if it’s stiff.
- Consider calling a friend! While some water heaters are manageable solo, having a helper is a big plus for an extra pair of hands and moral support.
- Work in a Well-Lit Area: Ensure you have adequate lighting throughout the installation process. This will help you see what you’re doing clearly and avoid mistakes that could lead to safety hazards.
- Beware of Live Wires: Even after turning off the breaker, double-check that there’s no power using a voltage tester before touching any electrical wires.
- Use Caution With Drain Water: The water drained from your old heater will be hot. Be careful when draining it to avoid scalding yourself. Route the drain hose to a safe location, like a floor drain or bucket, and wear gloves if necessary.
- Consider Permits: Depending on your local building codes, a permit might be required for replacing your electric water heater. Check with your city or county offices to find out if a permit is necessary and how to obtain one.
Pro Tips on How to Install an Electric Water Heater
- Match the Old Heater: Purchasing a new water heater with the same size and connection type (screw-in or pipe) as your old unit minimizes installation modifications.
- New Heater Placement: Consider future maintenance! Leave enough space around the new unit for easy access when needed. Refer to the manual for recommended clearance.
- Help is a Call Away: Don’t be afraid to call a professional plumber if you encounter any difficulties or feel unsure during the process. It’s better to ensure a safe and leak-free installation than risk bigger problems down the line.
- Label Your Wires: Before disconnecting any electrical wires during the replacement, take a picture or label them clearly to avoid confusion when reconnecting them to the new heater.
- Insulate Exposed Pipes: If any pipes are exposed in unheated areas, insulate them to prevent heat loss and improve energy efficiency.
- Test the Pressure Relief Valve: Once everything is installed and operational, locate the pressure relief valve and perform a test flush according to the manufacturer’s instructions. This ensures the valve functions properly.
By following these tips and the detailed guide, you’ll be well on your way to a successful electric water heater installation!
Should You Call a Professional Plumber?
If you’re feeling unsure about how to install an electric water heater, particularly when it comes to the water line connections, don’t hesitate to call a professional plumber. We’d rather you have a safe and leak-free installation than risk a plumbing mishap down the line. Leaky connections can cause serious water damage to your home, so it’s better to be safe than sorry.
Step-by-Step Guide on How to Install an Electric Water Heater
-
Drain the Old Tank: Patience is key here! Attach a hose to the drain valve at the bottom of your old unit and route it to a drain or bucket. Open the valve and let the tank empty completely.
-
Disconnect the Plumbing: Once drained, use wrenches to disconnect the hot and cold water lines. Be prepared for some residual water to flow out, so have towels on hand.
-
Remove the Old Unit: This might require some muscle! Carefully maneuver the old heater out of its place with your helper.
-
Prep the New Heater: Place your new water heater on a level surface. Most units come pre-drilled for water connections and the pressure relief valve. Install the T&P valve following the manufacturer’s instructions.
Continuing the Installation Journey:
Assuming you’re comfortable with the water line connections, here are the next steps:
-
Fill the Tank and Check for Leaks: Slowly open the cold water shut-off valve and allow the tank to fill. Open a hot water faucet somewhere in your house to purge any air. Watch for leaks at all the connections – a small drip is okay, but a steady stream requires attention. Tighten any loose connections or redo them completely if necessary.
-
Electrical Connections: Turn off the breaker again! Now you can tackle the electrical connections. This step requires strict adherence to the manufacturer’s instructions and local building codes. If you’re not comfortable working with electrical wiring, hiring a licensed electrician is the safest option. Electrical work should only be done by a qualified professional to avoid any risk of shock or fire.
-
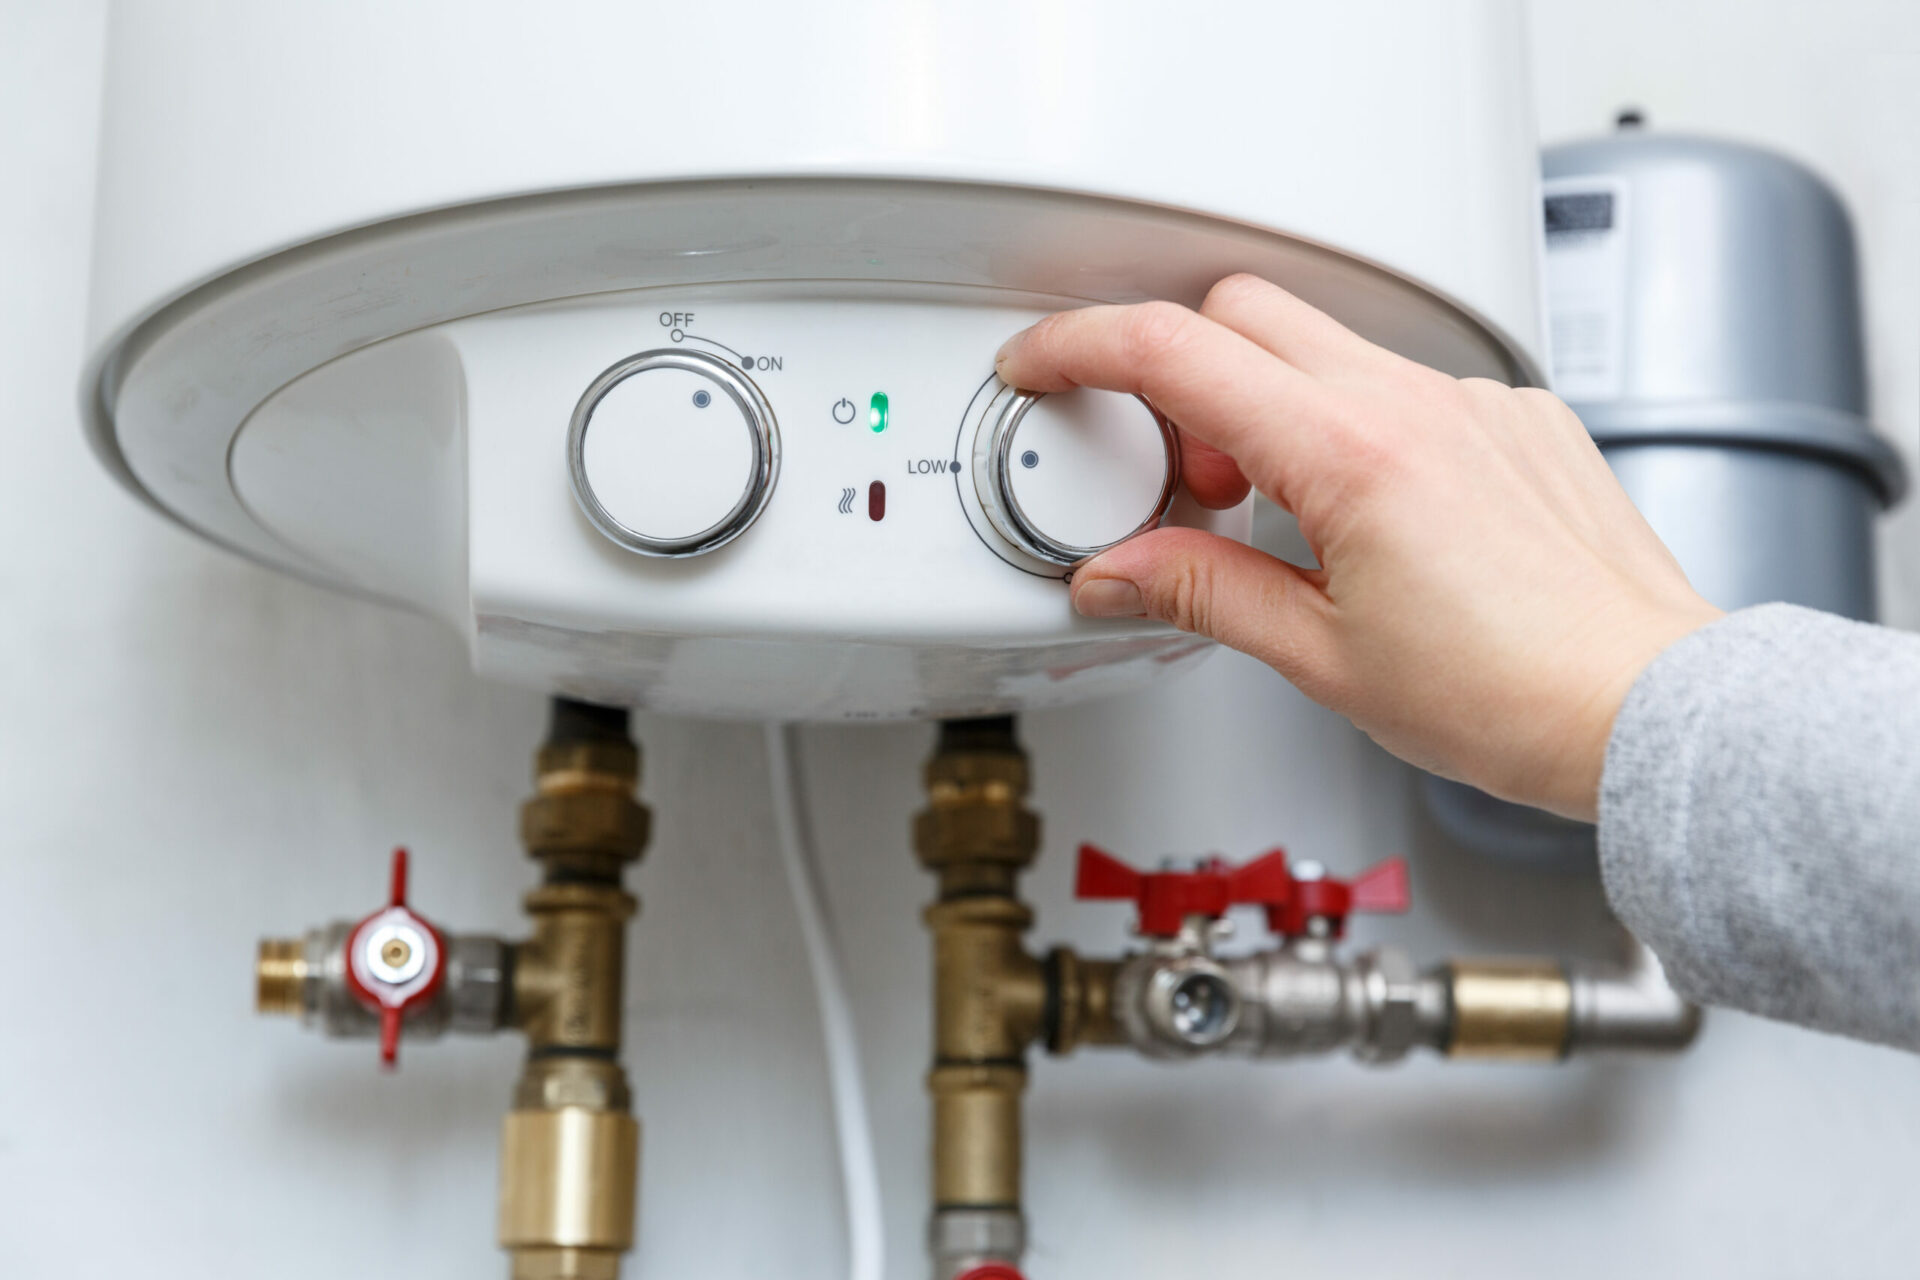
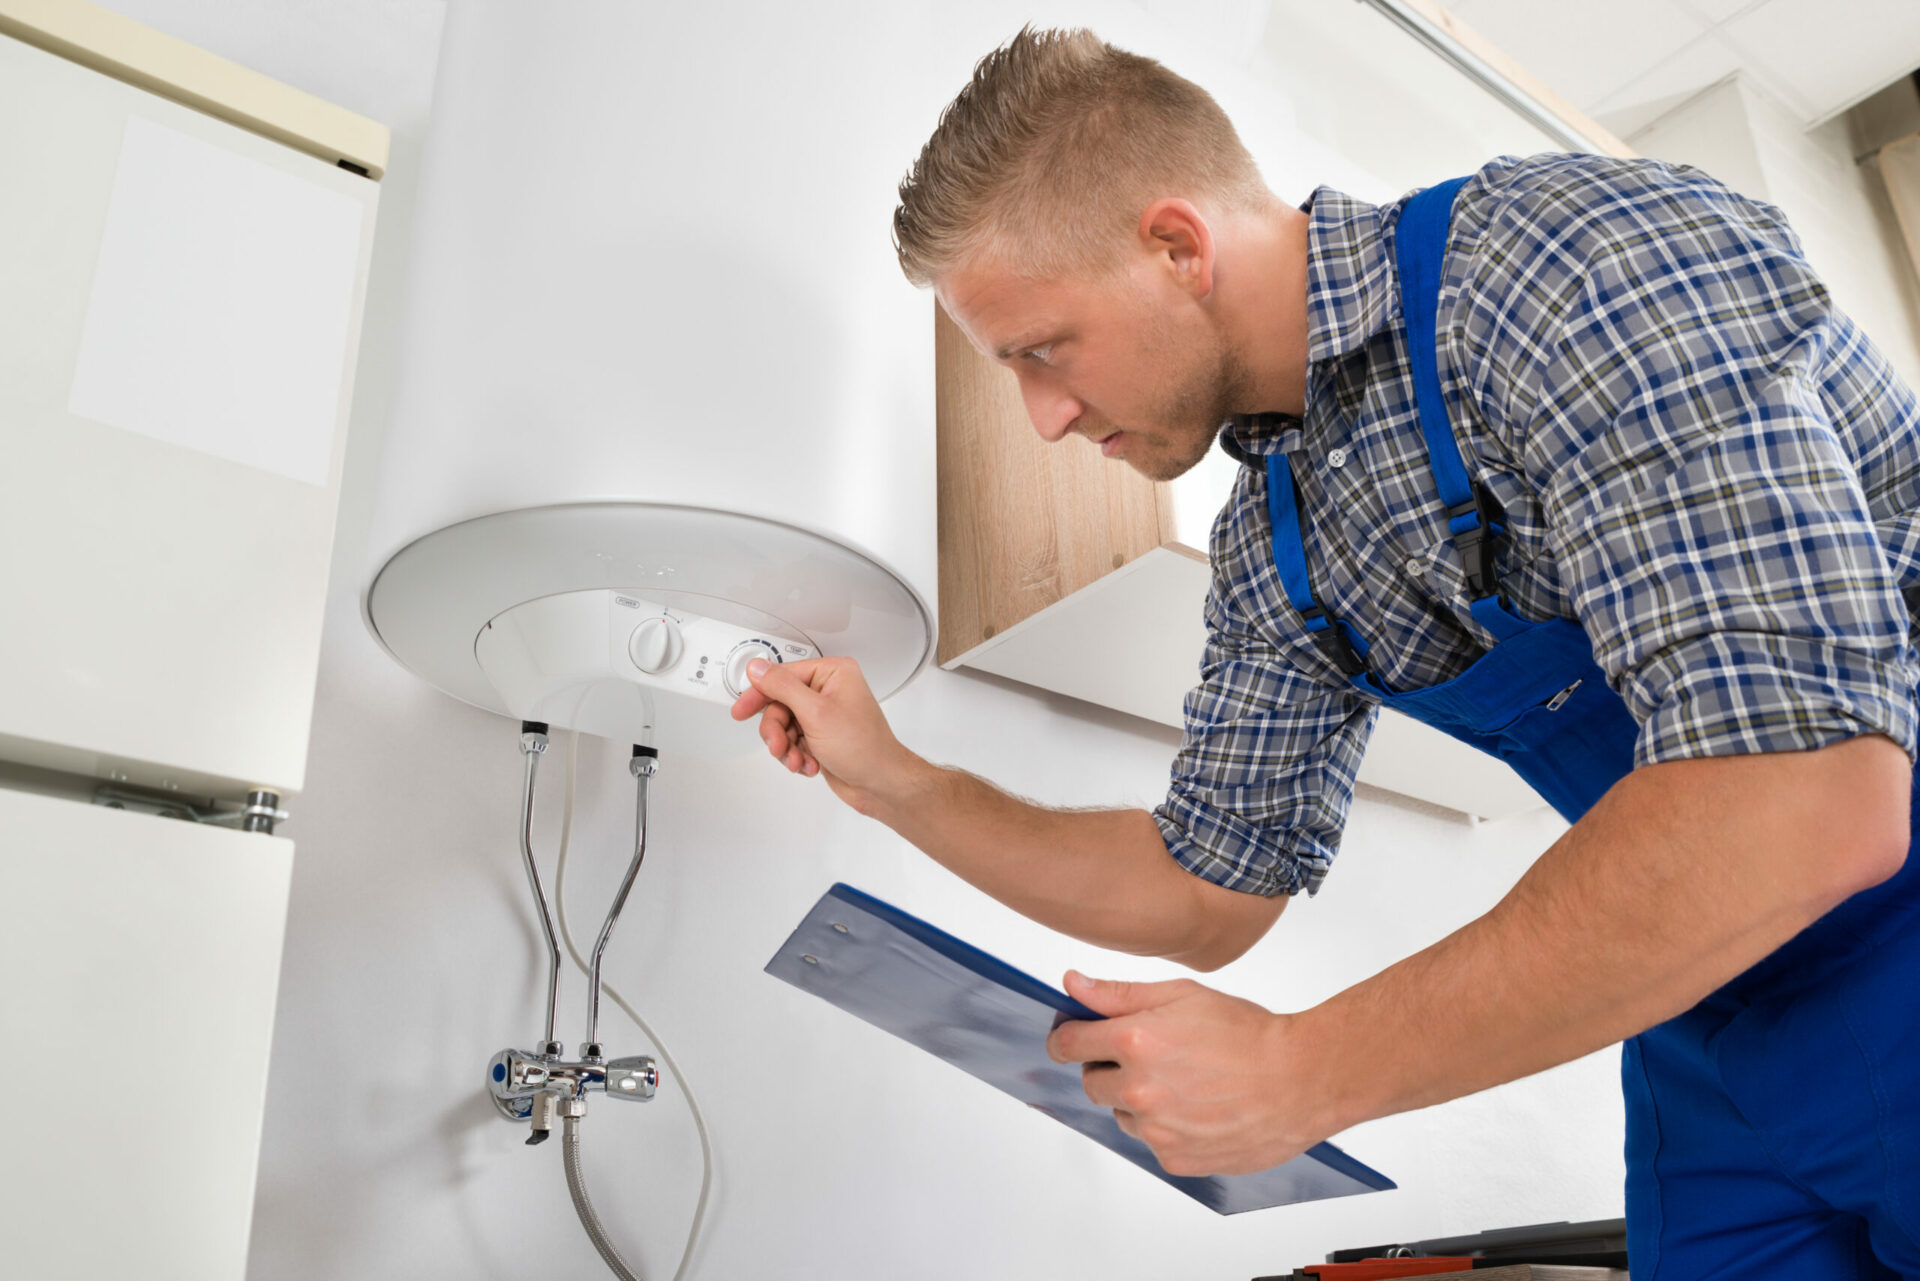
Power On and Adjust the Thermostat: Once all the connections are secure, turn the breaker back on. Your water heater should come alive! Most heaters have an adjustable thermostat – consult the manual for the recommended temperature setting.
Maintenance Tips
Beyond the initial installation, understanding some basic maintenance practices can significantly extend the lifespan and efficiency of your electric water heater. Here are a few key tips to remember:
- Regular Flushing: Sediment buildup at the bottom of the tank can reduce your heater’s efficiency and lead to premature failure. Flushing the tank once or twice a year helps remove this sediment. Most water heaters have a drain valve specifically for this purpose. Consult your owner’s manual for detailed instructions on how to flush your specific model. Safety tip: Shut off the water supply valve and electrical breaker to the heater before flushing.
- Taming Hard Water: If you live in an area with hard water, consider installing a water softener system in your home. Hard water contains high mineral content that can lead to scale buildup within the water heater tank. A water softener helps prevent this buildup, maintaining optimal heating performance and extending the life of your unit.
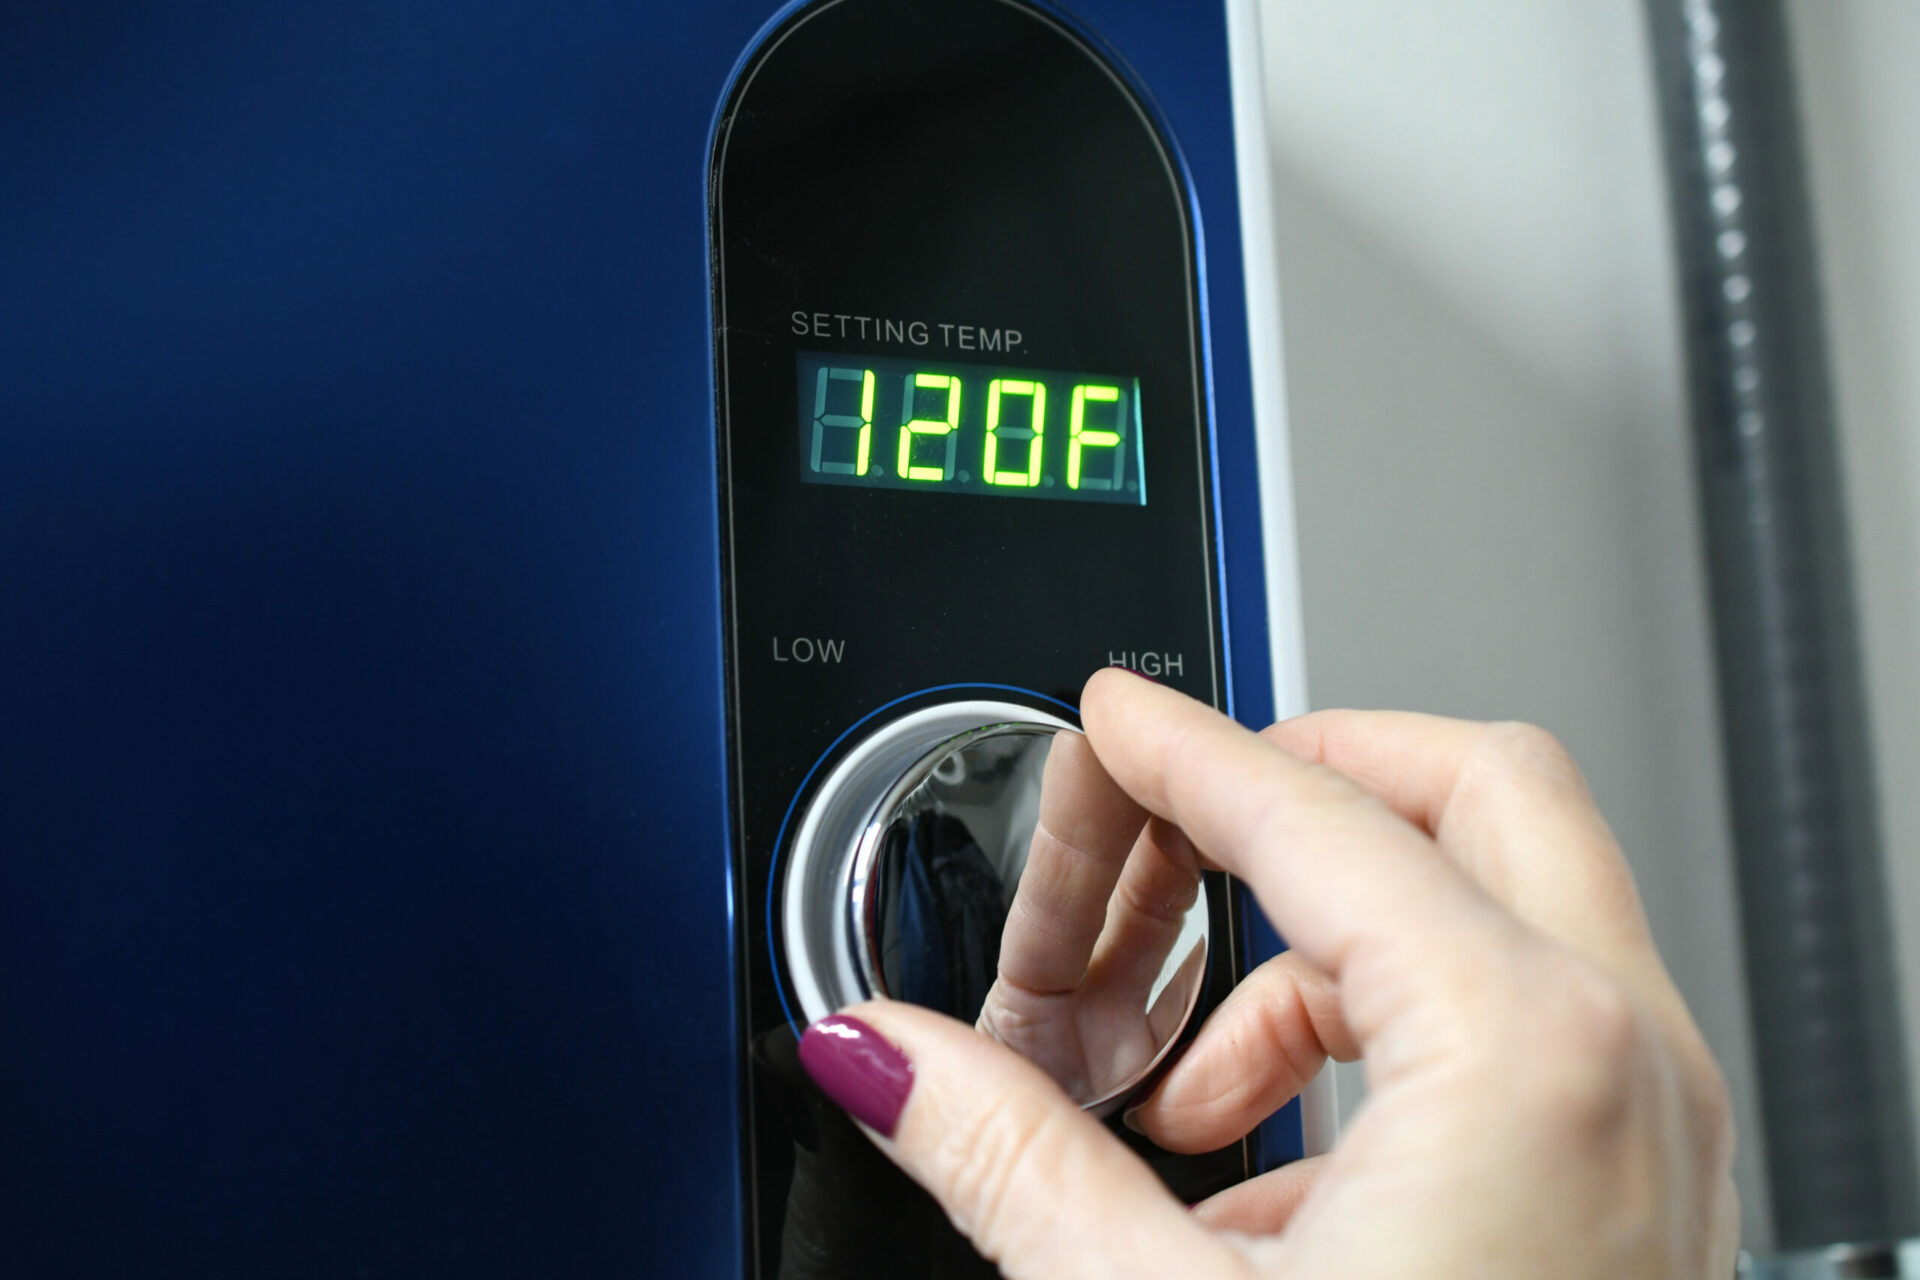
- Temperature Regulation: Most electric water heaters come with adjustable thermostats. Setting the temperature to a lower setting, ideally around 120 degrees Fahrenheit, can save energy without sacrificing showering comfort. Additionally, consider using low-flow showerheads to further reduce hot water demand.
- Anode Rod Replacement: Most electric water heaters have a sacrificial anode rod made of magnesium or aluminum. This rod attracts corrosion within the tank, protecting the tank itself. Over time, the anode rod deteriorates and needs to be replaced, typically every 3-5 years. Consult your manual for instructions on how to locate and replace the anode rod in your model.
- Visual Inspection: Perform a visual inspection of your water heater periodically. Look for any leaks around the base of the tank, signs of rust or corrosion, or any unusual bulges or dents in the tank itself. If you notice any of these issues, contact a professional plumber for further evaluation and potential repairs.
By incorporating these simple maintenance practices into your routine, you can ensure your electric water heater operates efficiently and delivers hot water for years to come.
Troubleshooting Common Issues
Here’s a breakdown of how to troubleshoot some common issues and get your hot water flowing again:
-
Lack of Hot Water: This is the most common complaint. First, check the obvious – is the heater turned on? Consult your manual to locate the on/off switch and ensure it’s in the “on” position. Next, verify the thermostat setting. If it’s set too low, you won’t get the desired hot water temperature. Some models also have a “reset button” – refer to the manual to see if yours has one and if a reset might be necessary. If the thermostat seems okay, check the circuit breaker panel and ensure the breaker supplying power to the heater hasn’t tripped. Reset it if needed, but if it trips repeatedly, there might be an electrical issue within the heater itself, and consulting a professional is recommended.
-
Lukewarm Water: If your water isn’t getting as hot as you’d like, it could be due to a few factors. A low thermostat setting is a common culprit. Adjust the thermostat to a higher temperature, but be mindful of scalding risks and energy efficiency. Another possibility is a faulty heating element. Electric water heaters typically have two heating elements, one located near the top and one near the bottom of the tank. If one element fails, you might still get some hot water, but it won’t reach the desired temperature. A qualified plumber can diagnose a faulty element and replace it if necessary. Sediment buildup at the bottom of the tank can also reduce heating efficiency. Regular flushing, as mentioned in the maintenance section, can help prevent this issue.
-
Leaking: A leak is a serious concern and can signify a potential tank rupture or loose connection. Turn off the water supply valve to the heater immediately to minimize water damage. If the leak is minor and coming from a pipe connection, you might be able to tighten the fittings with wrenches. However, leaks from the tank itself usually indicate a more significant issue and require professional attention. Don’t attempt to repair a leaking tank yourself, as it could compromise the unit’s integrity and pose a safety hazard.
-
Strange Noises: While some occasional gurgling or popping sounds might be normal during the heating cycle, loud knocking or banging noises are not. These sounds could indicate mineral buildup within the tank or a malfunctioning heating element. If you hear unusual noises, it’s best to err on the side of caution and call a professional plumber to diagnose the problem.
Remember, these are just some common troubleshooting tips. If you’re unsure about the cause of the issue or feel uncomfortable attempting any repairs yourself, don’t hesitate to call a licensed plumber. They have the expertise and tools to diagnose the problem accurately and get your hot water heater back up and running safely and efficiently.
Hot Water and Peace of Mind
Congratulations! You’ve successfully (hopefully!) navigated how to install an electric water heater. If you tackled the entire project yourself, give yourself a pat on the back – you’ve accomplished something significant.
But remember, there’s no shame in calling in a professional if you hit a snag or simply don’t feel comfortable with any part of the process. At Authentic Plumbing Solutions, we’re always happy to help ensure your water heater installation is safe, efficient, and leak-free.
Now, go forth and enjoy a nice, long hot shower – you’ve earned it!

